
Non-Authenticated NFS Server Configuration on Linux
Non-Authenticated NFS Server Configuration on Linux
There are features and functions used in Arista NetVisor UNUM and Insight Analytics that are common throughout the user interface (UI). Please refer to the Common Functions section for more information on the use of these functions and features.
Caution: Arista Networks recommends using an entirely separate NFS Server in your production environment.
On the intended NFS server and at a Linux prompt perform the following steps:
1)Run: sudo apt-get update

NFS Server apt-get Update
2)Run: sudo apt install nfs-kernel-server
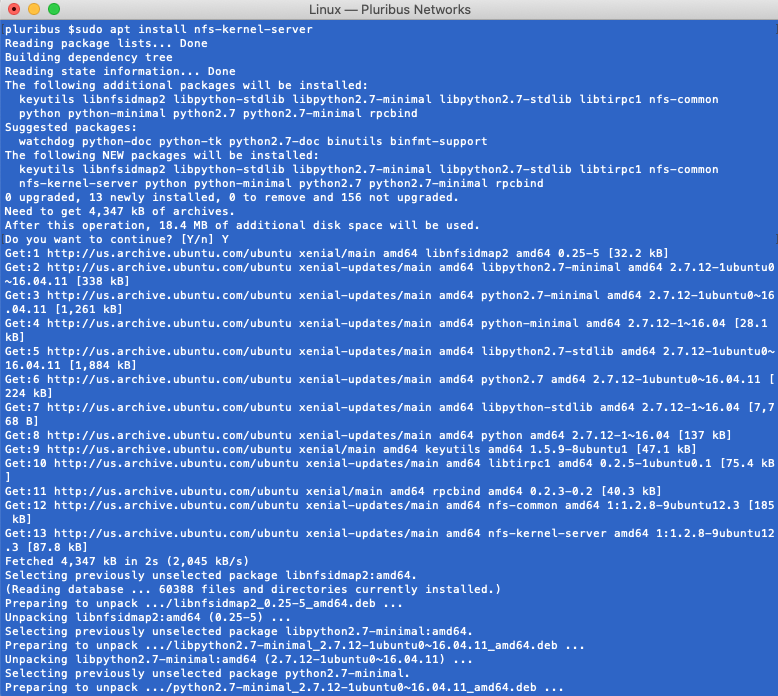
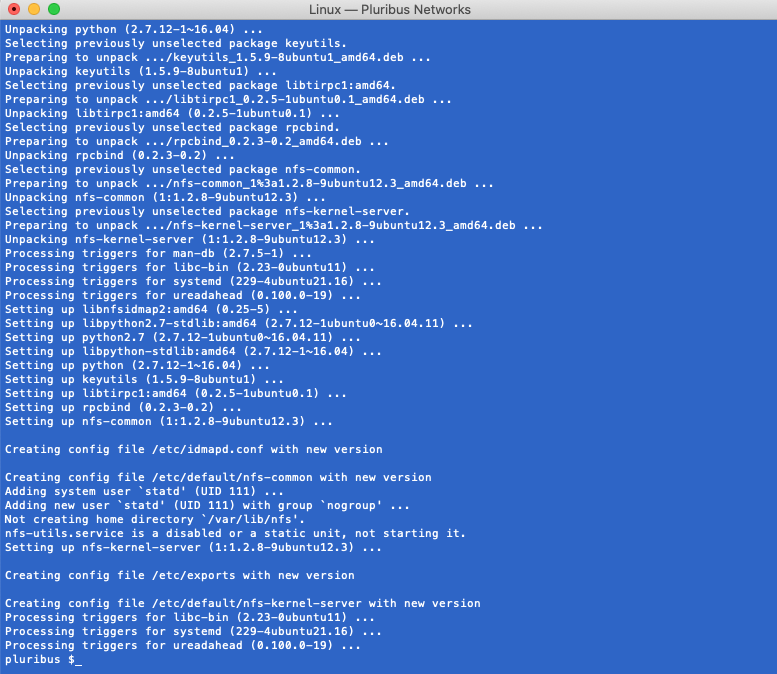
NFS Server Install NFS Kernel
3)Create the share directory. For example: sudo mkdir /var/my_nfs_backups
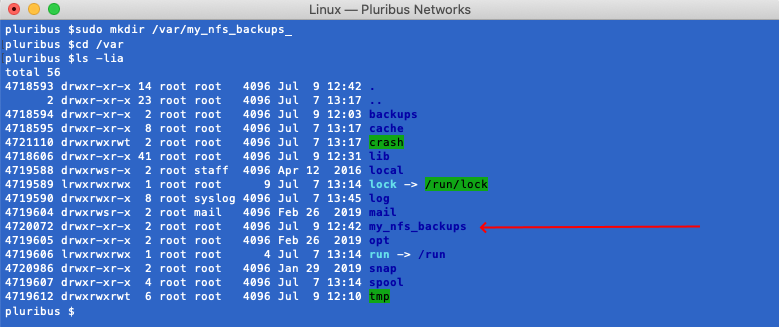
NFS Server Create Backup Directory
4)Add this directory to the /etc/exports file. using an editor such as nano: sudo nano /etc/exports
and add the following line:
/var/my_nfs_backups *(rw,sync,no_subtree_check)
to the file.

NFS Server Edit Exports File Editor
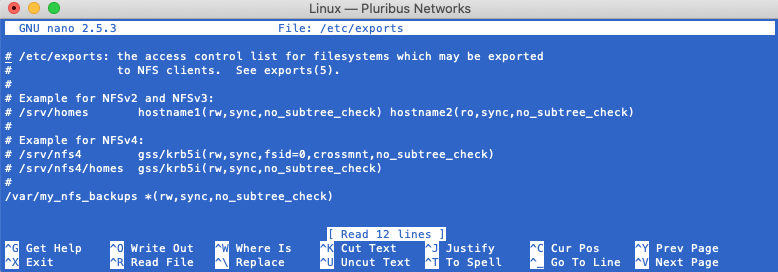
NFS Server Edit Exports File
Save and exit.
Caution: The * (asterisk) shown in the above example, allows any client to connect to the NFS share. For increased security, consider using a NetVisor UNUM client IP address or restricted subnet.
Note: rw means “read/write access”. sync means NFS server writes changes before it replies. no_subtree_check means it disables checking sub tree.
5)Ensure directory permissions are set correctly, perform a chmod on the /var/my_nfs_backups folder. For example: sudo chmod 755 /var/my_nfs_backups
Caution: For security purposes, set the minimum access level needed for NFS to work.
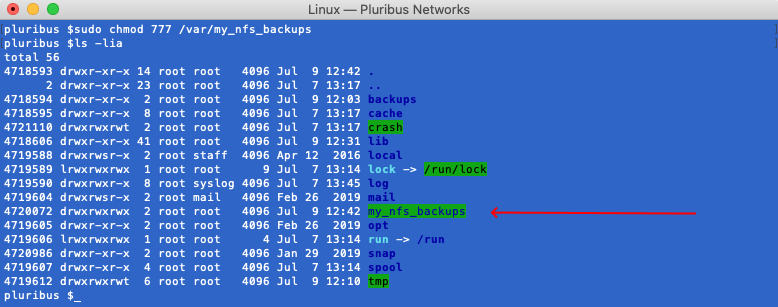
NFS Server Set Directory Permissions
6)Restart NFS services using sudo service nfs-kernel-server restart.

NFS Server Restart
7)Run the command showmount -e to display the export list. In this example, the output is:
Export list for <my_nfs_server_name>:
/var/my_nfs_backups *

NFS Server Exported Directory
The non-authenticated NFS Server is now ready for client connections.
