
STATIC ROUTING - Manage Routing
Layer 3 Configuration – Static Routing
There are features and functions used in Arista NetVisor UNUM and Insight Analytics that are common throughout the user interface (UI). Please refer to the Common Functions section for more information on the use of these functions and features.
Manage Static Routing
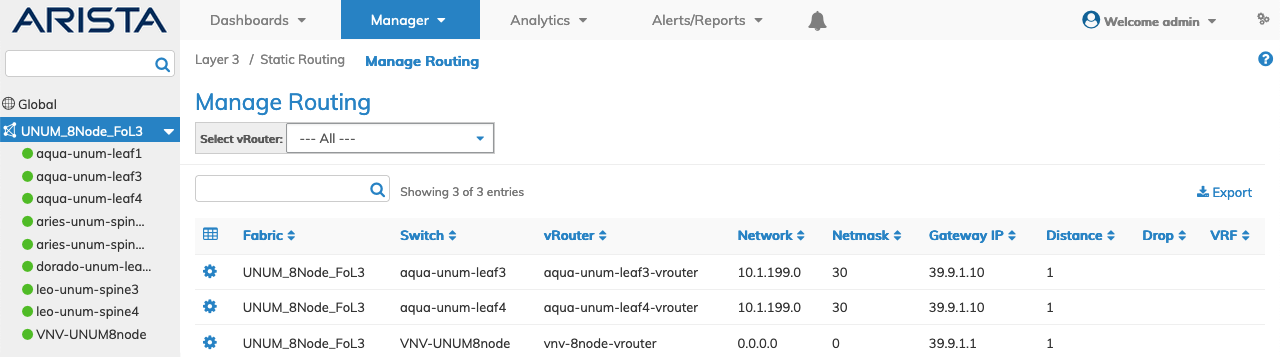
Selecting Manager → Layer 3 → Manage Routing displays the Manage Routing dashboard with a list of any existing Routing settings.
Select the applicable Fabric from the left-hand navigation bar and the dashboard updates showing all Routing entries from all switches within the Fabric.
Note: If no entries exist a "No Data Exists" message is displayed. You must first configure an entry on a switch. Prerequisite settings and configuration may be required.
The dashboard displays a list of existing Routing entries by Switch and selected vRouter. Additional parameters include: Network, Netmask,Gateway IP, Distance, Drop, VRF, BFD Dst IP, and Interface.
Manager Layer 3 Static Routing Fabric
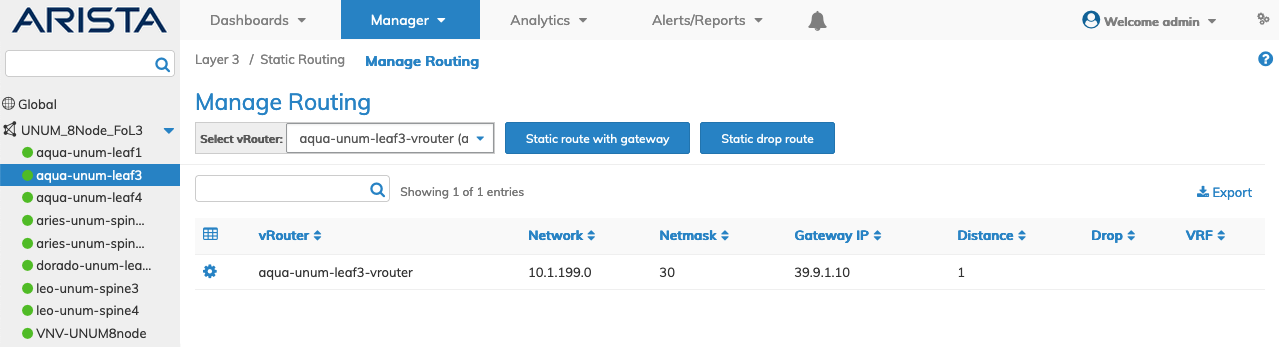
Select the applicable switch from the fabric and the dashboard updates automatically with Routing settings.
The dashboard displays a list of existing Routing entries by Network. Additional parameters include: Netmask,Gateway IP, Distance, Drop, VRF, BFD Dst IP, and Interface.
Manager Layer 3 Static Routing Switch
Adding Static Routes
Begin adding Static Routes by selecting:
•Static Route with Gateway
•Static Drop Route

Manager Layer 3 Manage Routing Add Route
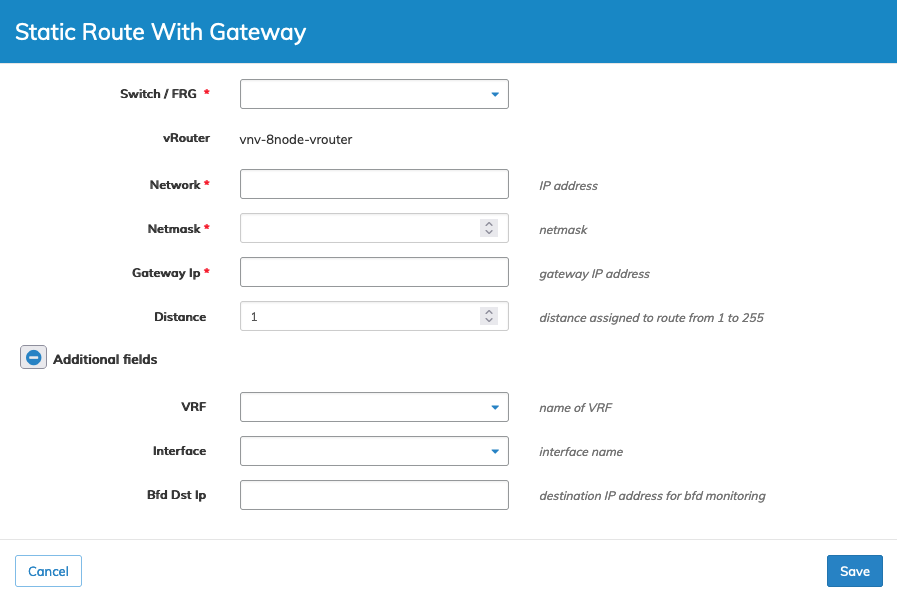
Add Static Route With Gateway
To add a Static Route select the applicable vRouter from the drop-down list of available vRouters.
Enter the configuration parameters which include:
•Switch / FRG – Select switch or a FRG (Fabric Resource Group) from the drop down list.
•vRouter – Either auto-populated when vRouter selected from Fabric Select Name or when selecting switch from LHN.
•Network – The IP address.
•Netmask – The netmask.
•Gateway Ip – The gateway IP address.
•Distance – The distance assigned to route from 1 to 255.
Select additional field parameters by clicking on the ![]() icon. Additional fields include:
icon. Additional fields include:
•VRF – Name of VRF from drop-down list.
•Interface – The interface name from drop-down list.
•Bfd Dst Ip – The destination IP address for BFD monitoring.
Manager Layer 3 Static Routing Static Route With Gateway
Click Save to continue or Cancel to return to the previous screen without making any changes.
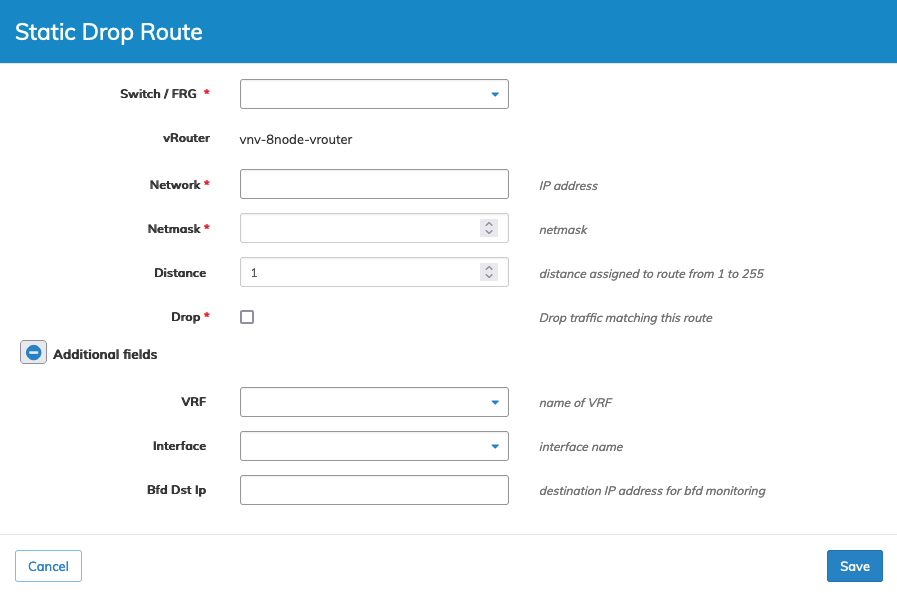
Add Static Drop Route
To add a Static Drop Route select the applicable vRouter from the drop-down list of available vRouters.
Enter the configuration parameters which include:
Note: When Static Drop Route is selected Gateway IP is not an available option. The checkbox item Drop is available.
Enter the configuration parameters which include:
•Switch / FRG – Select switch or a FRG (Fabric Resource Group) from the drop down list.
•vRouter – Either auto-populated when vRouter selected from Fabric Select Name or when selecting switch from LHN.
•Network – The IP address.
•Netmask – The netmask.
•Distance – The distance assigned to route from 1 to 255.
•Drop – Drop traffic matching this route.
Select additional field parameters by clicking on the ![]() icon. Additional fields include:
icon. Additional fields include:
•VRF – Name of VRF from drop-down list.
•Interface – The interface name from drop-down list.
•Bfd Dst Ip – The destination IP address for BFD monitoring.
Manager Layer 3 Static Routing Static Drop Route
Click Save to continue or Cancel to return to the previous screen without saving any changes.
Modify Static Route With Gateway
To modify a Static Route entry use Edit by selecting the Cog ![]() icon.
icon.
Enter the updated values for the Static Route With Gateway that include:
•vRouter – Either auto-populated when vRouter selected from Fabric Select Name or when selecting switch from LHN.
•Distance – The distance assigned to route from 1 to 255.
•Interface – The interface name from drop-down list.
•VRF – Name of VRF from drop-down list.
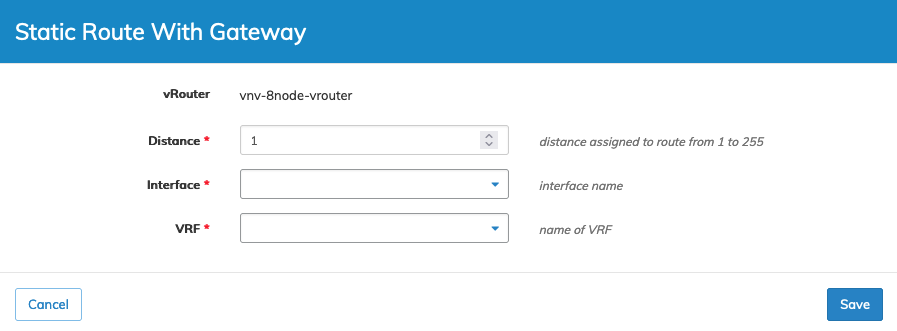
Manager Layer 3 Modify Static Routing
Click Save to continue or Cancel to return to the previous screen without saving any changes.
Delete a Static Route
To delete a Static Route entry use Delete by selecting the Cog ![]() icon. A confirmation message requires an acknowledgment to continue deletion.
icon. A confirmation message requires an acknowledgment to continue deletion.
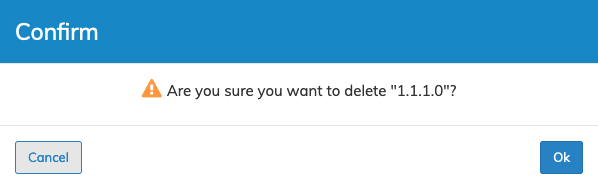
Manager Layer 3 Static Routing Delete Route
Click OK to continue or Cancel to return to the previous screen without making any changes.