
VXLAN - Manage Tunnel
Layer 3 VXLAN Manage Tunnel - Virtual Extensible Local Area Network Manage Tunnel
There are features and functions used in Arista NetVisor UNUM and Insight Analytics that are common throughout the user interface (UI). Please refer to the Common Functions section for more information on the use of these functions and features.
Manage Tunnel
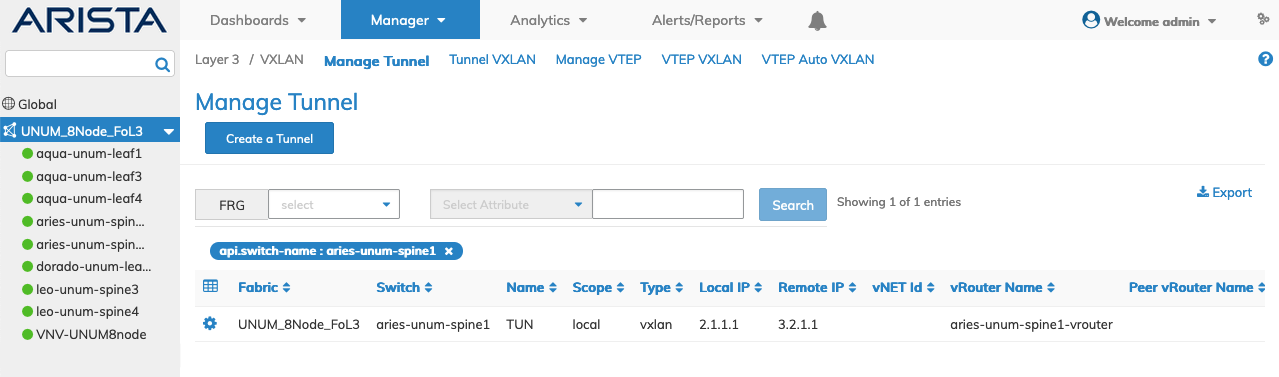
Selecting Manager → Layer 3 → Manage Tunnel displays the Manage Tunnel dashboard with a list of any existing Tunnel settings.
Note: If no entries exist a "No Data Exists" message is displayed. You must first configure an entry on a switch. Prerequisite settings and configuration may be required.
This feature table displays data based on the fabric's default Collector Switch. If no data displays in the dashboard, either select a switch from the Left-hand Navigation (LHN) pane or perform a Search by selecting an FRG (Fabric Resource Group) and a specific Attribute from the drop-down lists, as required.
The dashboard displays a list of existing Tunnel entries by Switch name.
Additional parameters include: Name, Scope, Type, Local IP, Remote IP, Vnet Id, Vrouter Name, Peer Vrouter Name, Next Hop, Next Hop Mac, Next Hop Vlan, Active, State, BFD, BFD State, Ports, Error, and Auto Tunnel.
Manager Layer 3 Manage Tunnel Fabric Dashboard
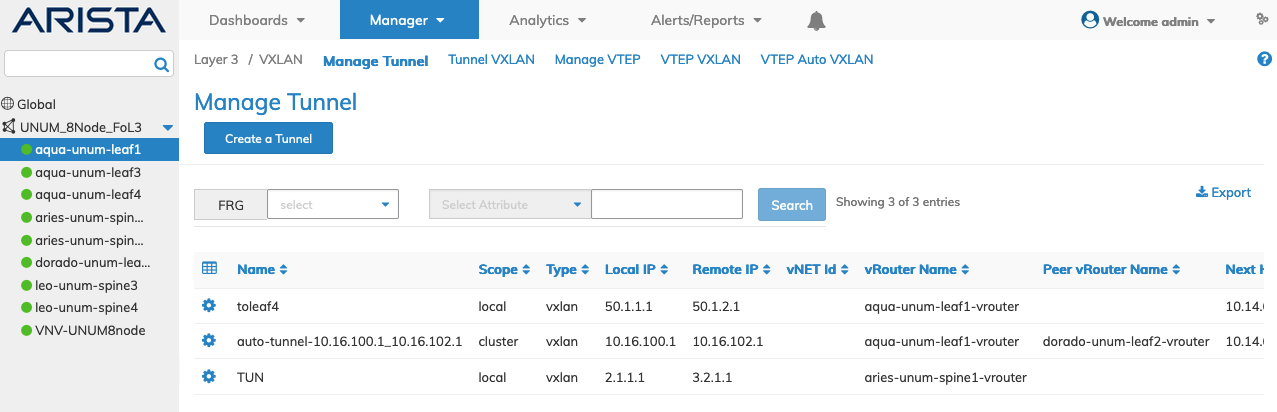
Select the applicable switch from the Fabric and the dashboard displays a list of existing Tunnel entries by Name.
Additional parameters include: Scope, Type, Local IP, Remote IP, Vnet Id, Vrouter Name, Peer Vrouter Name, Next Hop, Next Hop Mac, Next Hop Vlan, Active, State, BFD, BFD State, Ports, Error, and Auto Tunnel.
Manager Layer 3 Manage Tunnel Switch Dashboard
Create a Tunnel
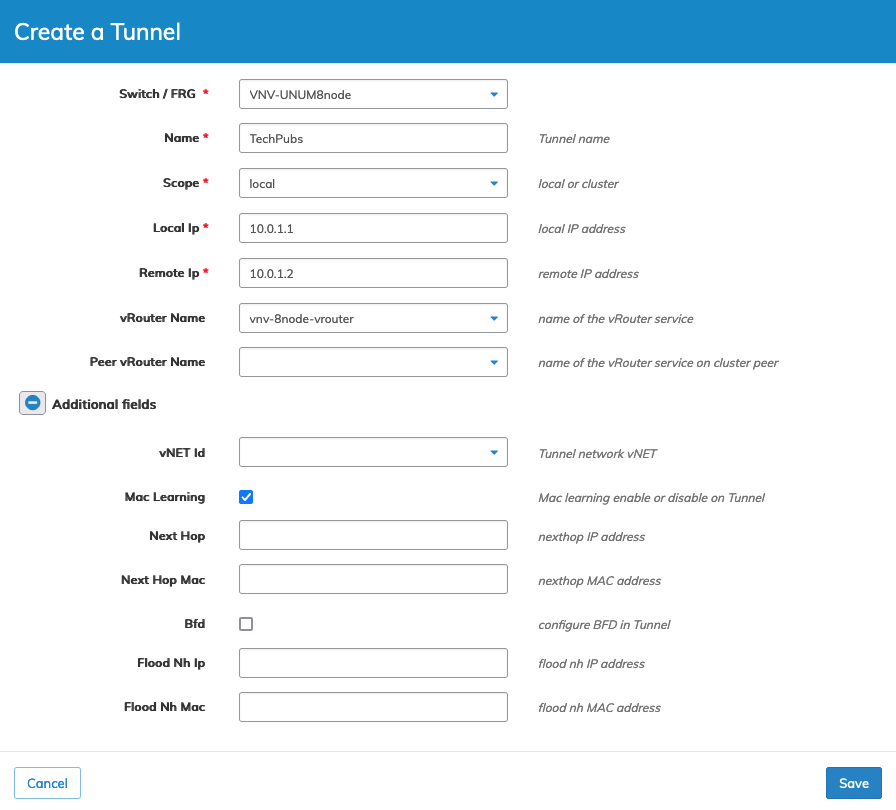
To add a Tunnel click Create a Tunnel and enter the configuration parameters which include:
•Switch / FRG – Select switch or a FRG (Fabric Resource Group) from the drop down list.
•Name – (required) tunnel name.
•Scope – (required) local or cluster.
•Local Ip – (required) local IP address.
•Remote Ip – (required) remote IP address.
•vRouter Name – Name of the vrouter service.
•Peer vRouter Name – Name of the vrouter service on cluster peer.
Select additional field parameters by clicking on the ![]() icon. Additional fields include:
icon. Additional fields include:
•vNET Id – Tunnel network vNET.
•Mac Learning – (checkbox) Enable or disable Mac learning on a tunnel.
•Next Hop – Nexthop IP address
•Next Hop Mac – Nexthop MAC address
•Bfd – (checkbox) Configure BFD in Tunnel.
•Flood Nh Ip – Flood Nh IP address.
•Flood Nh Mac – Flood Nh MAC Address.
Click Save to continue or Cancel to return to the previous screen without saving any changes.
Manager Layer Create Tunnel
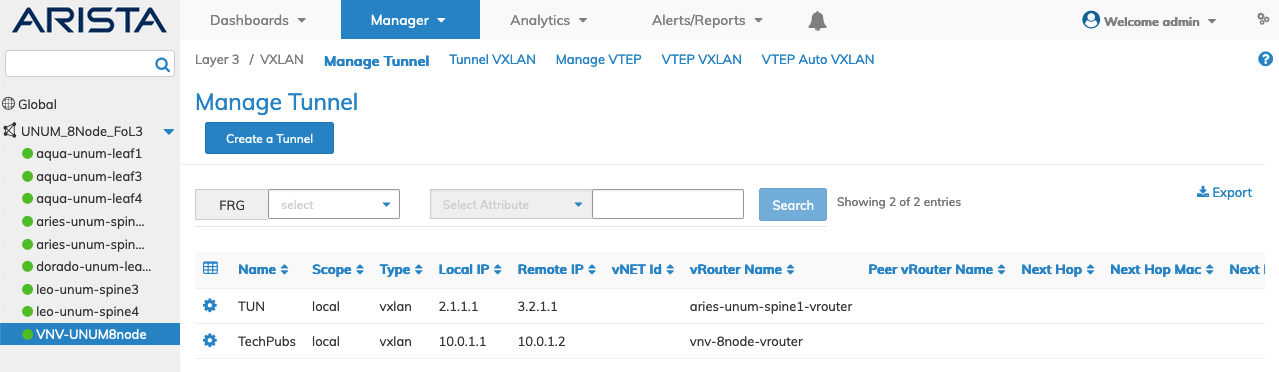
The new Tunnel is added to the Dashboard.
Manager Layer 3 Create Tunnel - Added to Dashboard
Modify a Tunnel
To modify a Tunnel use Modify by selecting the Cog ![]() icon.
icon.
•Mac Learning – (checkbox) Enable or disable Mac learning on a tunnel.
•Bfd – (checkbox) Configure BFD in Tunnel.
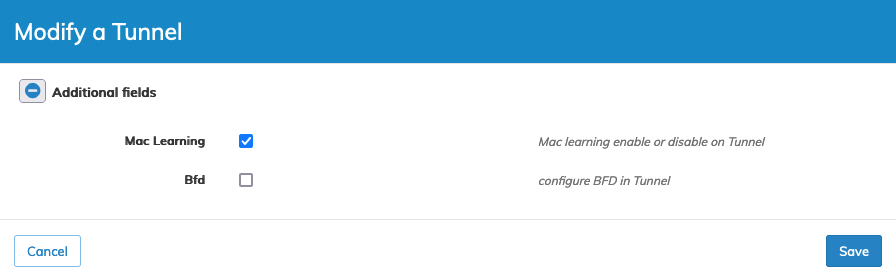
Manager Layer 3 Modify Tunnel
Click Save to continue or Cancel to return to the previous screen without saving any changes.
Delete a Tunnel
To delete a Tunnel use Delete by selecting the Cog ![]() icon. A confirmation message requires an acknowledgment to continue deletion.
icon. A confirmation message requires an acknowledgment to continue deletion.
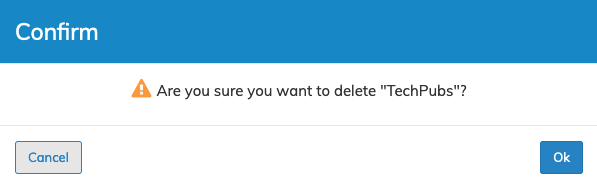
Manager Layer 3 Tunnel Delete Confirmation
Click OK to continue or Cancel to return to the previous screen without making any changes.