
NFS Server Configuration on Windows Server
NFS Server Configuration on Windows Server
There are features and functions used in Arista NetVisor UNUM and Insight Analytics that are common throughout the user interface (UI). Please refer to the Common Functions section for more information on the use of these functions and features.
Caution: Arista Networks recommends using an entirely separate NFS Server in your production environment.
The following process details using Windows Server as the NFS Share.
Install the NFS Server on Windows
1)From the Server Manager Dashboard click on "Add roles and features."
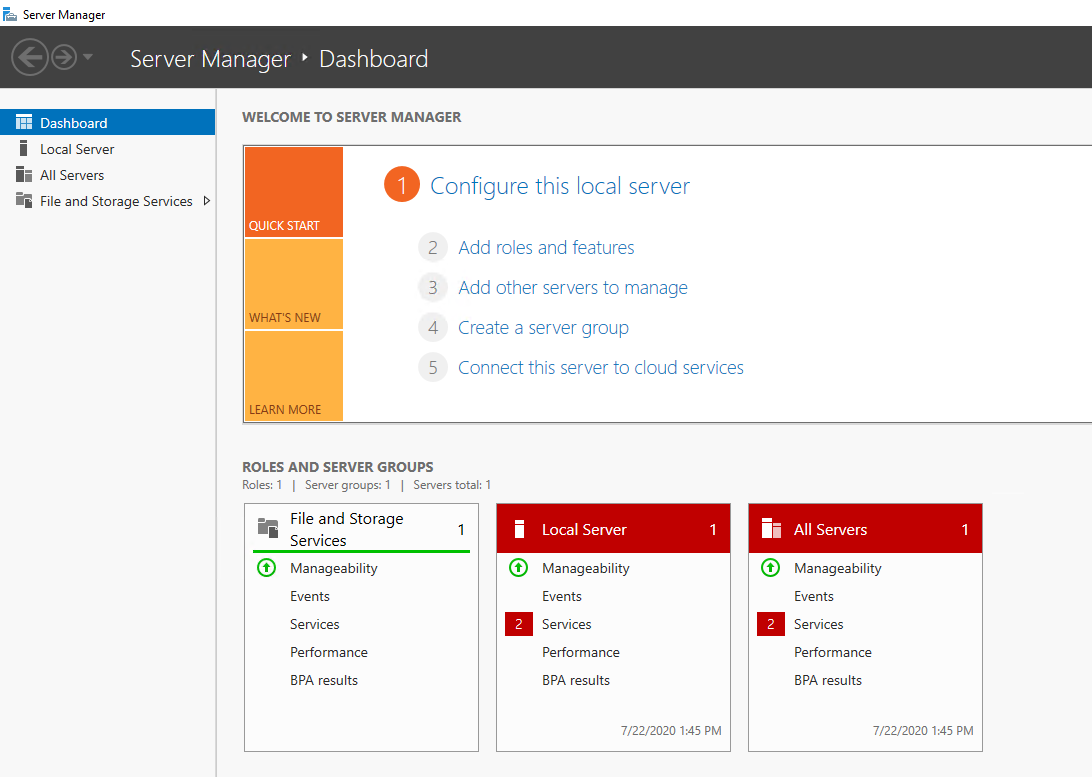
Windows Server Manager - Dashboard
2)On the before you begin page, select "Next."
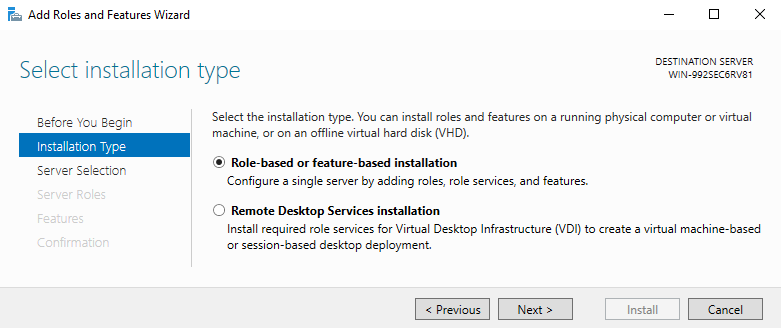
Windows Server Manager -Installation Type
3)On the Select Installation type popup select "Role based or Feature based Installation" then Next.
4)On the Select server roles, Navigate to File and Storage services>File and iSCSI services > Server for NFS. Check the box for Server for NFS, then Next.
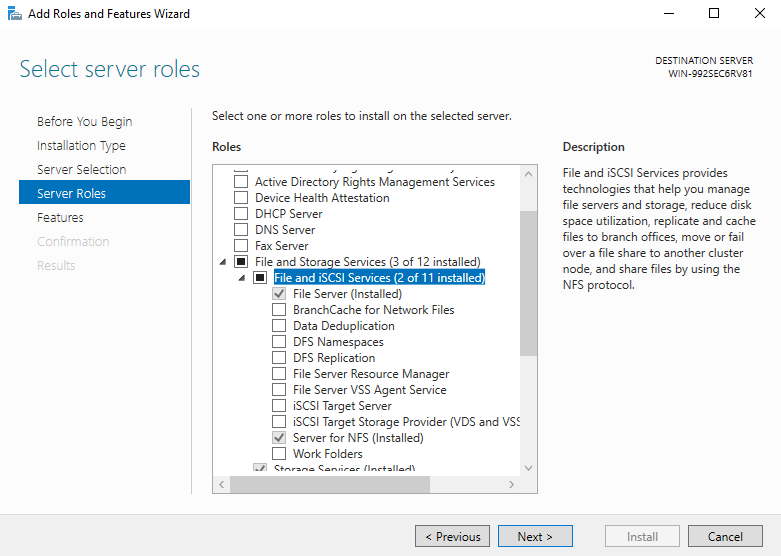
Windows Server Manager -Installation File and Storage Services
5)Page through accepting any other requirements (.NET frameworks) and Install.
Create a Folder in Windows and Enable NFS Sharing
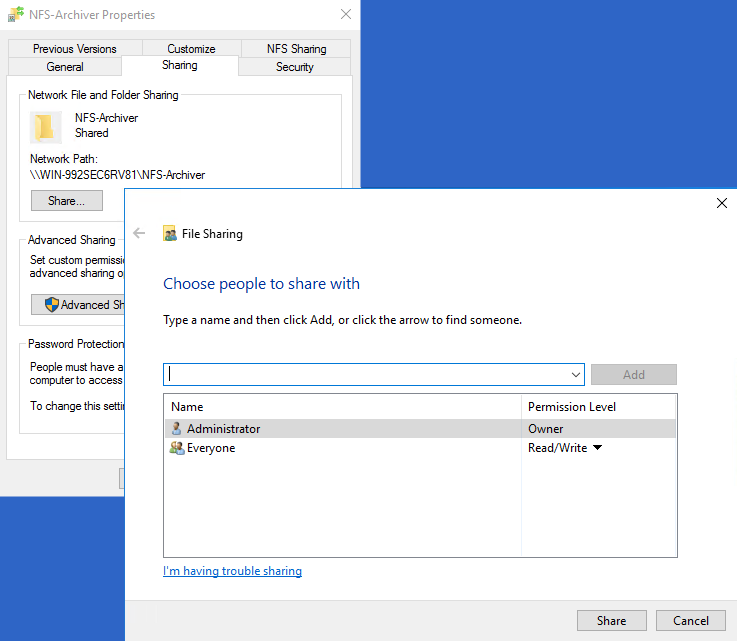
1)On your desktop (or other location), right click and create a new folder. In our case "NFS-Archiver."
2)Right click on folder and select properties
3)On the share tab, click on the share button and add an everyone account with read/write, then apply.
Windows Server Manager -NFS Share Permissions
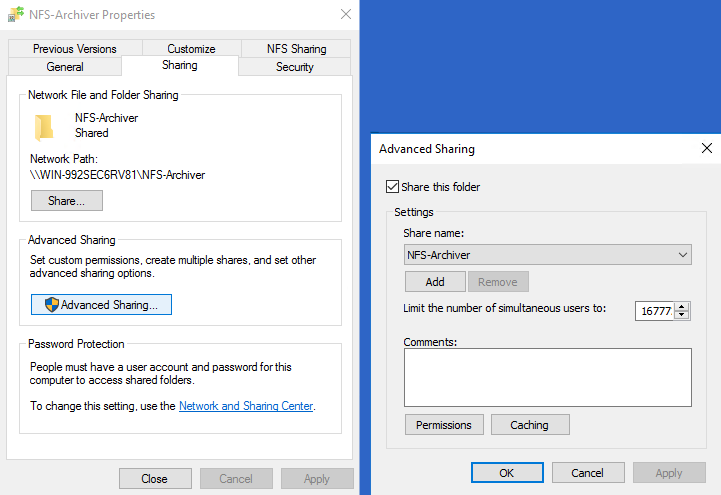
4)From the share tab, click on advanced sharing and check Share this Folder box and apply/ok.
Windows Server Manager - NFS Share Permissions
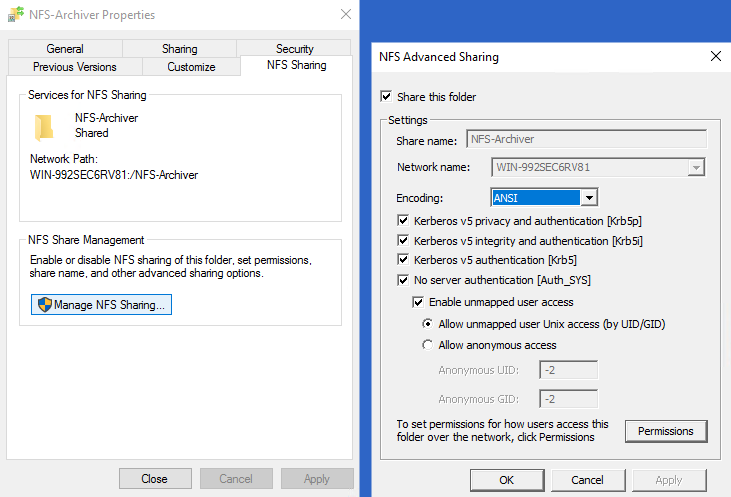
5)Click on the NFS Sharing tab then the Manage NFS Sharing button. Click on the Share this folder checkbox. Make sure "No server authentication" & "Enable unmapped user access" is checked.
Windows Server Manager - Manage NFS Sharing
6)Click on permissions and makes sure ALL MACHINES is highlighted, the Type of access is set to "Read-Write" and "Allow root access" is checked.
7)Click OK, OK, and close.
Mount and Test the NFS Share in NetVisor UNUM
8)From the NetVisor UNUM shell, use the startup script to mount the NFS share folder:
Enter NFS server IP: 10.37.20.200
Enter NFS server dir to mount: NFS-Archiver
Enter password for vcf user:
Mount complete
Press any key to continue ...
NetVisor UNUM: Advanced Settings
9)Change to the snapshots directory: cd /home/vcf/var/vcf/data/snapshots
10) Create a test directory in the snapshots folder:
vcf@unum:~/var/vcf/data/snapshots$ mkdir test
vcf@unum:~/var/vcf/data/snapshots$ ls
test
vcf@unum:~/var/vcf/data/snapshots$
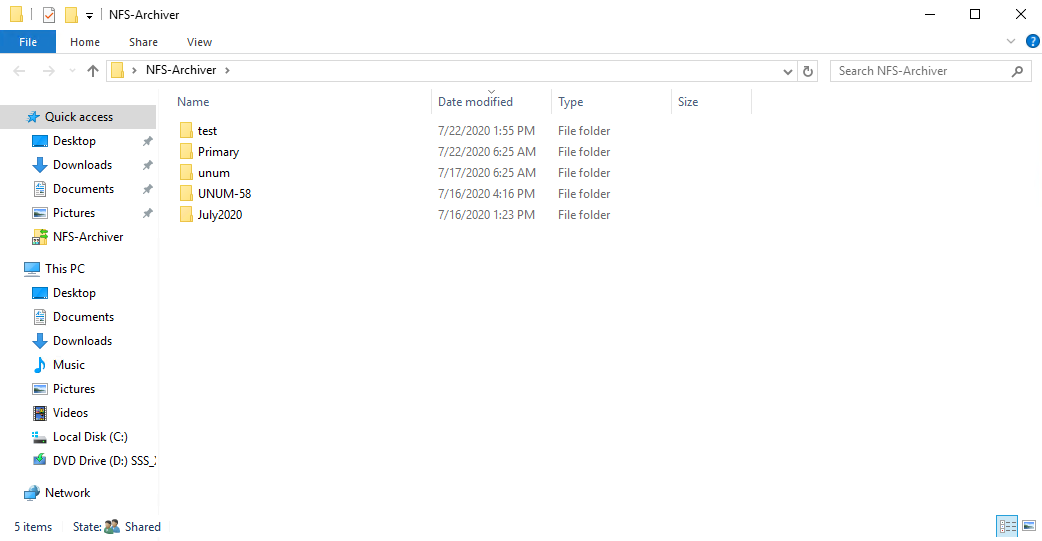
11)Refresh or open/close the windows directory on the Windows server. The test directory now appears.
Windows Server Manager - New NFS Directory
12)Start NetVisor UNUM with option 3 on the startup script.