
vRouter - vRouter VRF
Configuring vRouter- based VRF (Virtual Routing and Forwarding)
Virtual Routing and Forwarding (VRF) is a technology used to partition the routing table into virtual instances (called VRF instances, or simply VRFs) that segregate routing entries in the control plane and the data plane. Because the routing instances are independent, identical or overlapping IP addresses can be used without conflict.
Before NetVisor OS release 6.1.1, to support multiple VRF instances, you needed to configure multiple vRouters to create isolated Layer 3 routing contexts in software. Using this strategy, you could create a ‘dumb’ 1:1 association between a vRouter and a VRF instance to isolate Layer 3 domains in the data plane. Unicast and Multicast Fabric VRFs were introduced as hardware entities for high-performance distributed routing and traffic segmentation. There was no corresponding VRF-aware vRouter entity associated with them, and therefore no routing protocols could be run to exchange routing information (only static routing was supported).
NetVisor OS release 6.1.1 introduced ‘native’ multi-VRF support to vRouters by using new advanced control plane capabilities.
The new implementation is more scalable than previous releases. And it is much less demanding in terms of memory usage and CPU load (the previous vRouter-per-VRF approach was limited by the maximum number of supported vRouters, which is switch model-dependent). In addition, since a vRouter can now run routing protocols that are VRF-aware, per VRF peering is supported with BGP.
The new implementation also allows the use of the same interface IP address across different VRF instances. (However, note that reusing the same VLAN number for two interfaces of the same vRouter is not supported.) From a multi-tenant management perspective, VRF instances can be allocated to different vNETs so that each vNET administrator can independently add or remove the VRFs from the vRouters.
Layer 3 Configuration – vRouter VRF
There are features and functions used in Arista NetVisor UNUM and Insight Analytics that are common throughout the user interface (UI). Please refer to the Common Functions section for more information on the use of these functions and features.
vRouter VRF
Selecting Manager → Layer 3 → vRouter VRF displays the vRouter VRF dashboard with a list of any existing vRouter VRF settings.
Select the applicable Fabric from the left-hand navigation bar and the dashboard updates showing all vRouter VRF entries from all switches within the Fabric.
Note: If no entries exist a "No Data Exists" message is displayed. You must first configure an entry on a switch. Prerequisite settings and configuration may be required.
This feature table displays data based on the fabric's default Collector Switch. If no data displays in the dashboard, either select a switch from the Left-hand Navigation (LHN) pane or perform a Search by selecting an FRG (Fabric Resource Group) and a specific Attribute from the drop-down lists, as required.
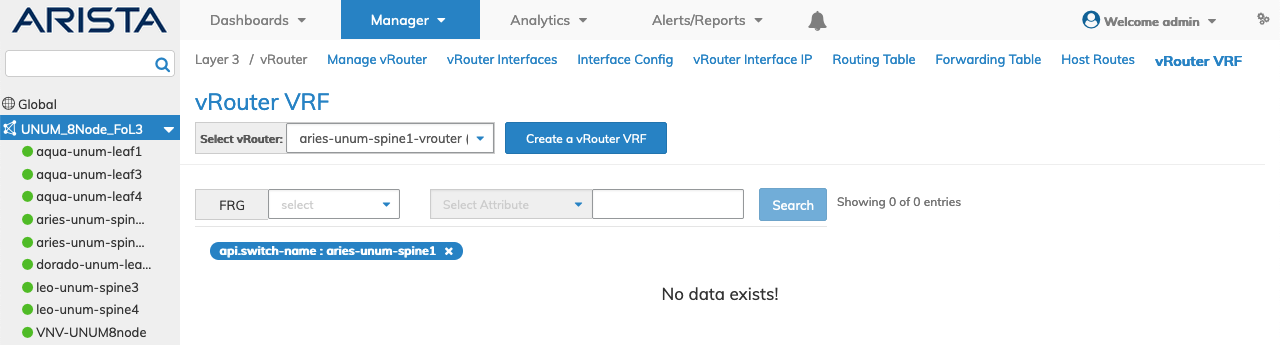
Manager Layer 3 - vRouter VRF- Fabric Dashboard - No Data
Create a vRouter VRF
Select Create a vRouter VRF and enter the applicable parameters which include:
•Switch / FRG – Select switch or FRG from drop-down list.
•vRouter – Auto-populated or select the applicable vRouter.
•VRF – Name of the VRF. Note, the VRF is previously built using Distributed VRF.
•BGP As – BGP Autonomous System number from 1 to 4294967295.
•Router Id – OSPF and BGP router id.
•BGP Redistribute – BGP route redistribution.
•BGP Cluster Id – IP address for BGP cluster ID.
•No BGP Redist Static Route Map – Remove route map for BGP static redistribution (checkbox).
•No BGP Redist Connected Route Map – Remove route map for BGP connected redistribution (checkbox).
•No BGP Redist Ospf Route Map – Remove route map for BGP OSPF redistribution (checkbox).
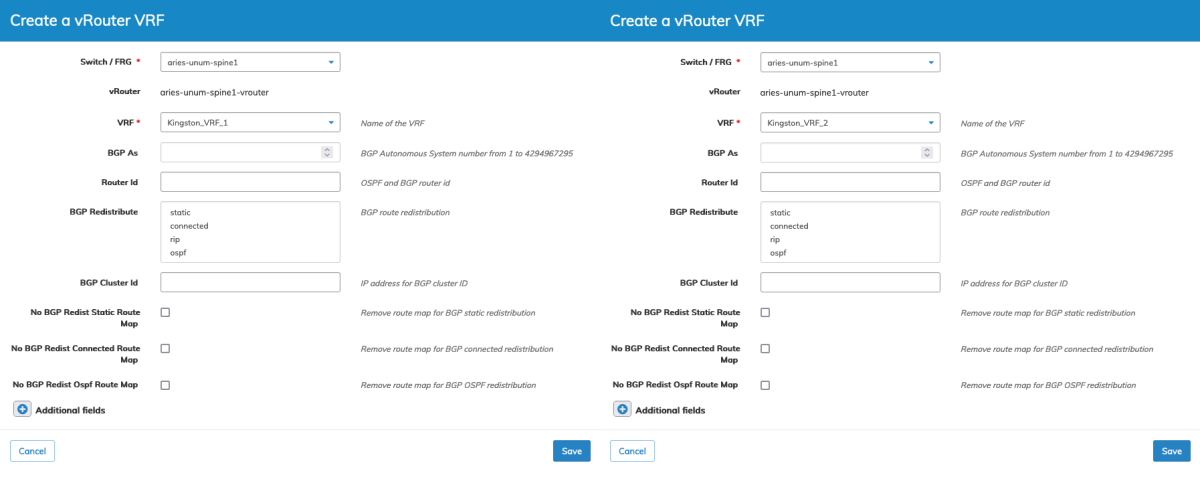
Manager Layer 3 - vRouter VRF- Fabric Dashboard - Create vRouter VRF
Select additional field parameters by clicking on the ![]() icon. Additional fields include:
icon. Additional fields include:
Additional fields include:
•BGP Redist Static Metric – BGP route redistribution static metric.
•BGP Redist Connected Metric – metric for redistributing BGP connected routes.
•BGP Redist Rip Metric – metric for redistributing RIP connected routes.
•BGP Redist Ospf Metric – metric for BGP to redistribute OSPF connected routes.
•BGP Dampening – dampening for BGP routes (checkbox).
•BGP Keepalive Interval – BGP Keepalive interval (seconds) default 60.
•BGP Holdtime – BGP Holdtime (seconds) default 180.
•BGP Distance External – BGP distance for routes external to AS.
•BGP Distance Internal – BGP distance for routes internal to AS.
•BGP Distance Local – BGP distance for local routes.
•BGP Default Shutdown – Apply administrative shutdown to newly configured peers (checkbox).
•BGP Graceful Shutdown – BGP graceful shutdown RFC 8326 (checkbox).
Click Save to continue or Cancel to return to the previous screen without making any changes.
The dashboard updates with the new vRouter VRF entries and displays a list of vRouter VRF entries by Switch and selected vRouter. Additional parameters include: VRF, HW Vrid, BGP As, Router Id, BGP Redistribute, BGp Cluster Id, No BGP Redist Static Route Map, and No BGP Redist OSPF Route Map.
The Advanced Search function provides a rapid method to search across Fabrics, Fabric Resource Groups and feature Attributes.
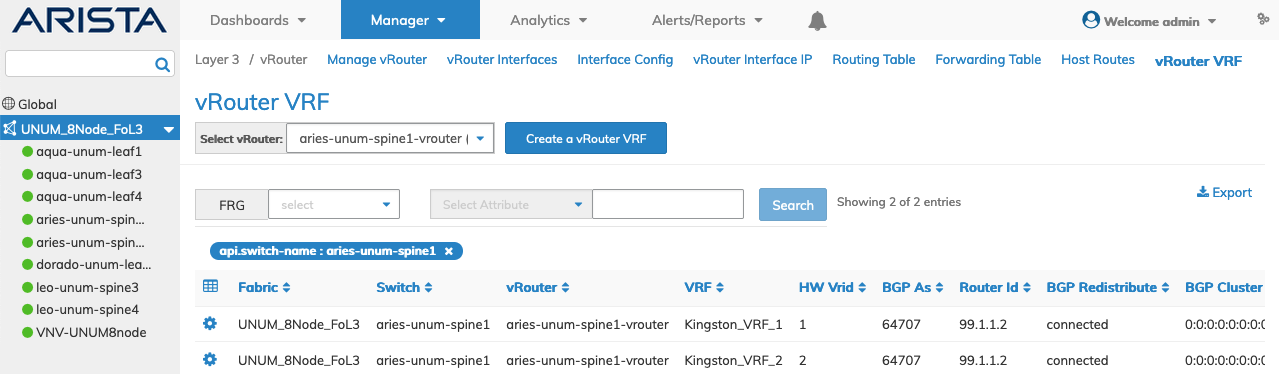
Manager Layer 3 - vRouter VRF- Fabric Dashboard
Select the applicable switch and the dashboard updates to display a list of vRouter VRF entries by vRouter. Additional parameters include: VRF, HW Vrid, BGP As, Router Id, BGP Redistribute, BGp Cluster Id, No BGP Redist Static Route Map, and No BGP Redist OSPF Route Map.
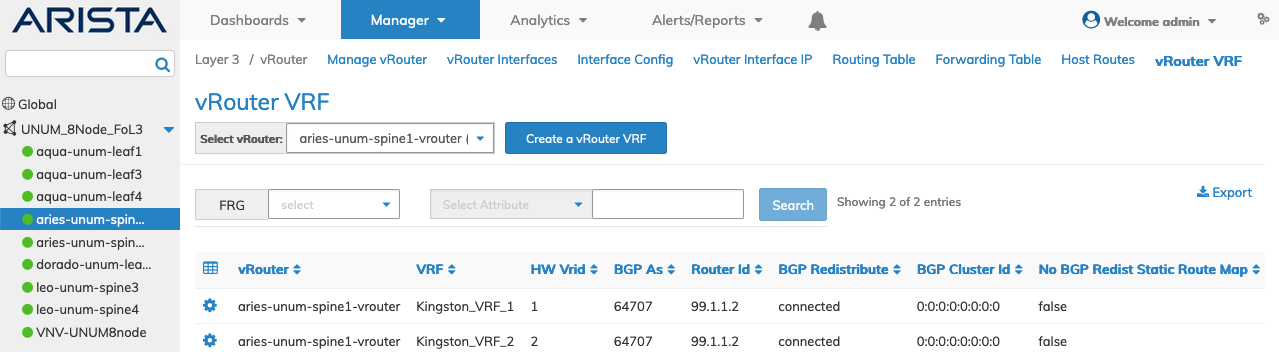
Manager Layer 3 - vRouter VRF- Switch Dashboard
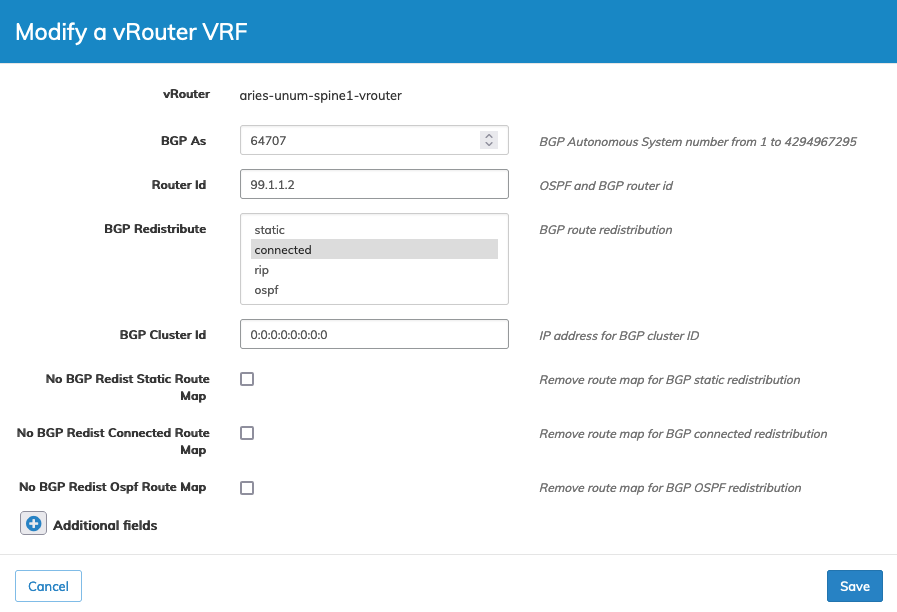
Modify a vRouter VRF
Select Edit using the Cog ![]() icon and update as required.
icon and update as required.
Manager Layer 3 - vRouter VRF- Switch Dashboard
Click Save to continue or Cancel to return to the previous screen without making any changes.
Delete a vRouter VRF
Select Delete using the Cog ![]() icon and confirm the deletion.
icon and confirm the deletion.
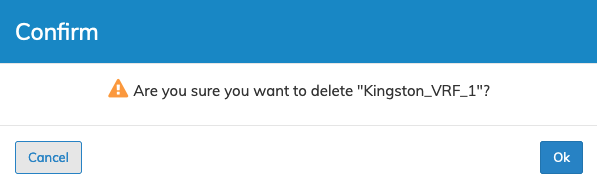
Manager Layer 3 - vRouter VRF- Delete
Click OK to continue or Cancel to return to the previous screen without making any changes.