
Reports
Reports
There are features and functions used in UNUM Manager and UNUM Analytics that are common throughout the user interface (UI). Please refer to the Common Functions section for more information on the use of these functions and features.
Selecting Alerts / Reports → Reports displays the Reports dashboard. The Reports tab highlights.
If Reports have not previously been configured, you use the dashboard to set up the Report settings.
Note: The UNUM Reports feature requires the UNUM-RPRT-LIC Pluribus UNUM add-on reporting license be installed. Please refer to the UNUM License Management section.

Alerts /Reports Reports Configuration Dashboard
To setup an email Report, click the Email Setting switch to enable the email service and enter the requisite information for the email server you wish to use.
Enter the type of email Supported Service you want to use.
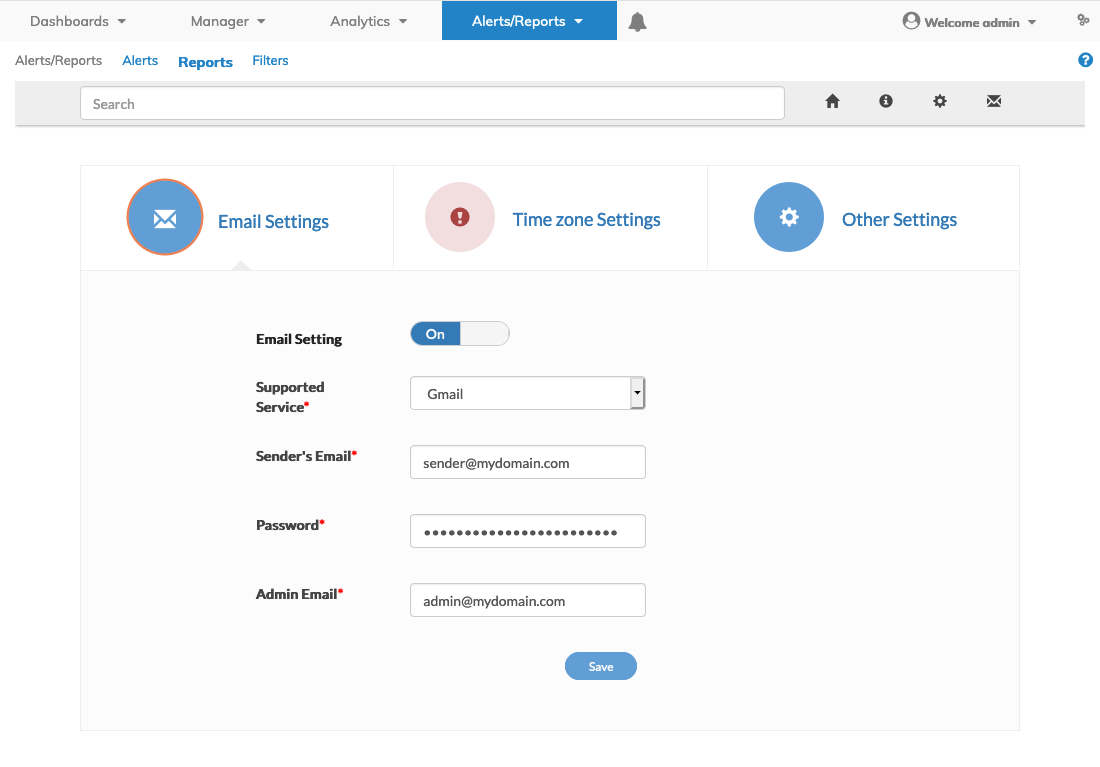
Alerts /Reports Reports Email Server Configuration Email Service
Select Others to use your own email server or service provider or choose from Google Gmail or Amazon Simple Email Service (SES) providers.
In the following example the SMTP service provider server information is entered along with the service port and SSL encryption. You must provide the senders email and check Enable Password when your email service provider requires it. Enter your Password and Admin Email. Click Save to setup the email service.
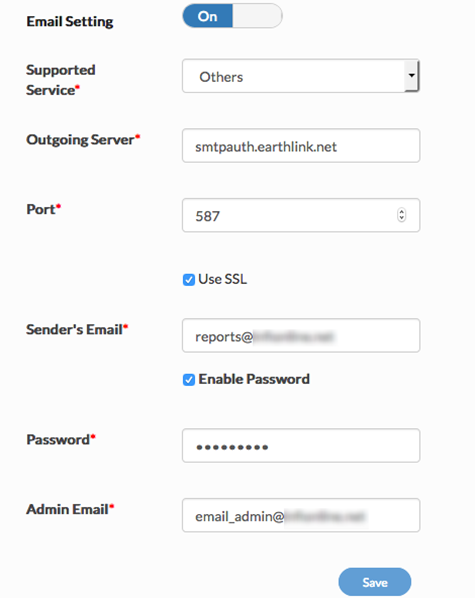
Alerts /Reports Reports Email Server Settings
The system will return a message indicating a successful email server configuration.
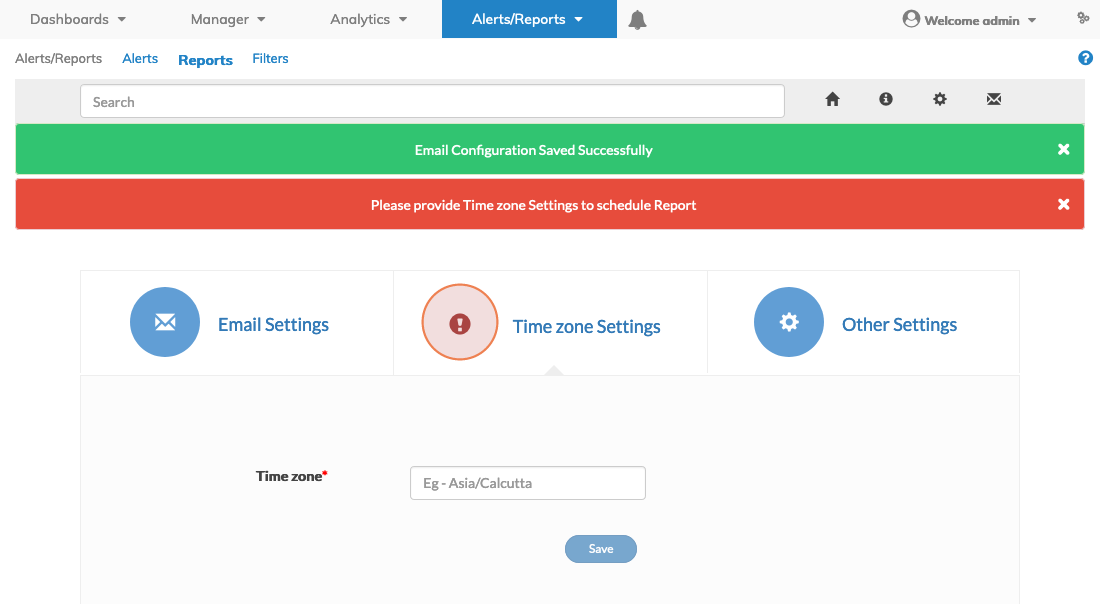
Alerts /Reports Reports Email Server Successful Configuration
Continue the Reports configuration by setting up your time zone using Time zone Settings. Begin typing in the Time zone box until the applicable time zone is presented. Click Save to setup the time zone.
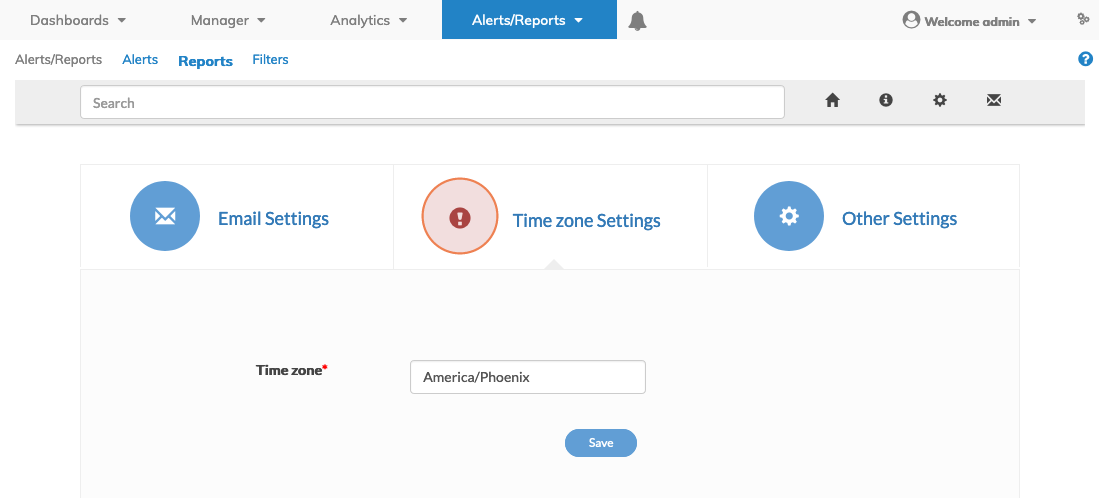
Alerts /Reports Reports Time Zone Setting
The system will return a message indicating a successful time zone configuration.
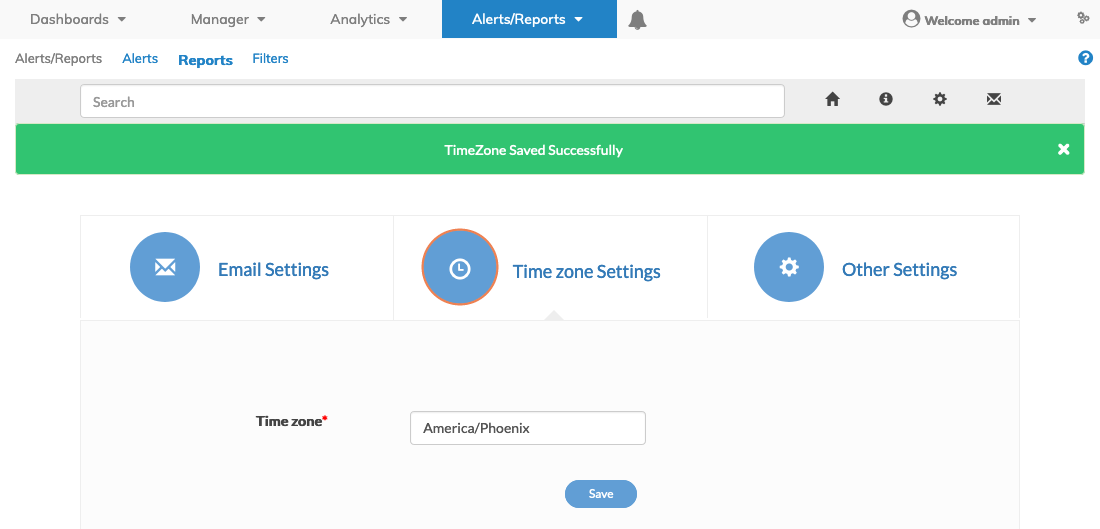
Alerts /Reports Reports Time Zone Successfully Configured
You enter a logo to include in the email Report by selecting Other Settings. Upload the applicable image in .PNG format using Select Image.
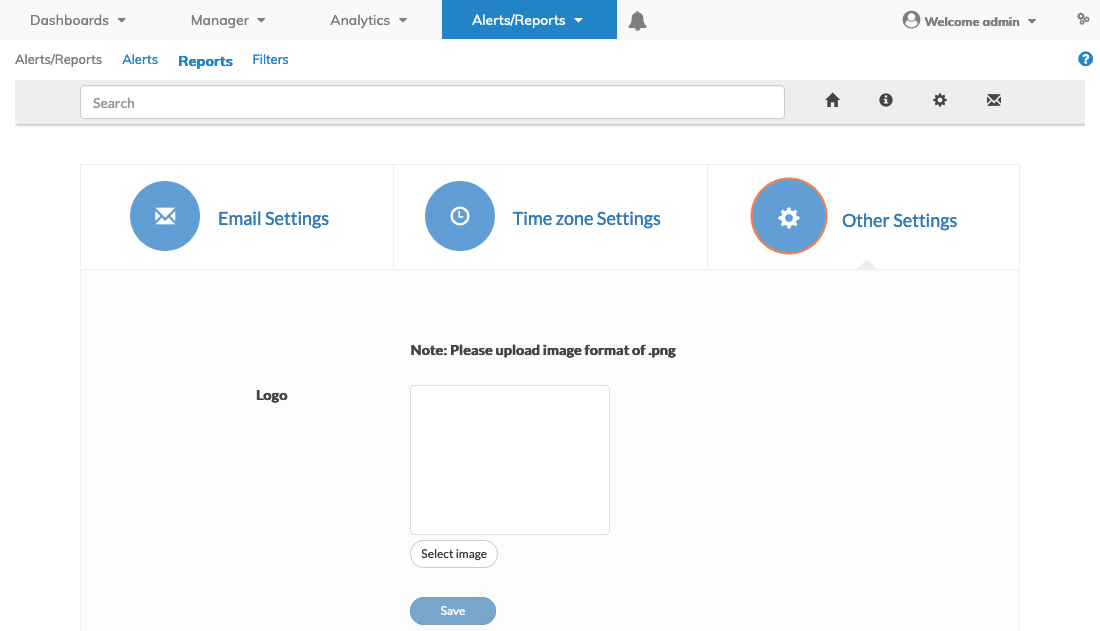
Alerts /Reports Reports Reports Other Settings
Click Save to complete the Reports configuration. You use Change to upload a different image or Remove to delete the logo.
![]()
Alerts /Reports Reports Other Settings Logo Upload
The system will return a message indicating a successful logo save.
![]()
Alerts /Reports Reports Logo Successfully Saved
To delete the logo after it has been saved, use the Reset button. The system will return a message indicating the saved logo has been removed.
Report configuration changes are made using the Cog ![]() icon. You Schedule a Report by clicking on the Home
icon. You Schedule a Report by clicking on the Home ![]() icon.
icon.
To schedule a report click +Schedule a Report. If there are no existing Reports the following dashboard will be displayed.
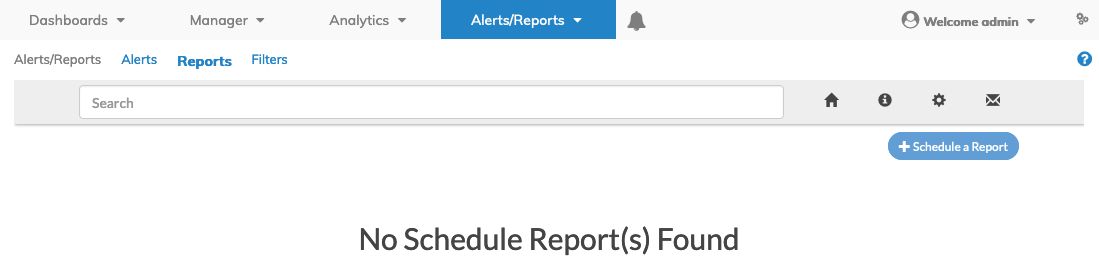
Alerts /Reports Reports Dashboard
To schedule a report click +Schedule a Report.
Alerts /Reports Schedule Reports Configuration Dashboard
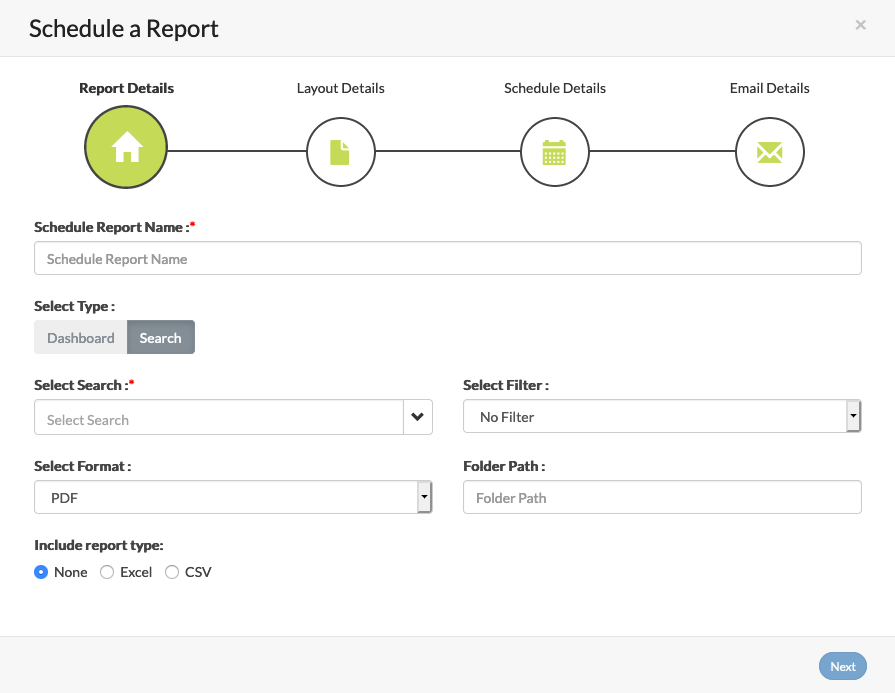
Report Details
The following parameters are required to setup a Report:
•Schedule Report Name – Name for the Report
•Select Type – Type of Report derived from a Dashboard or from Search criteria
oDashboard or Search
•Select Dashboard – Dashboard used in Report
oDashboard
▪Server Flow
▪Custom-Insights
▪Top Talkers – Top Clients by Connections
▪Capacity – Weekly
▪Client Flow
▪Top Talkers – Top Clients by Bytes
•Select Search – Search data used in Report
oSearch
▪Insight – Details
▪Flow Drill – Standard
▪Full Data Table
▪Custom Insight – Details
•Select Filter
•Select Format – Report Format in PDF, PNG, Inline PNG or Excel
•Include Report Type – None, Excel or CSV
•Folder Path – Directory path
Once the requisite information is added click Next to continue.
Layout Details
Specify the settings for the Report layout by choosing the Font Family, Page Size, Page Orientation and whether to include a logo. The Default Logo is the logo previously uploaded in the configuration setting. A Custom Logo may be used by selecting Custom Logo and uploading the applicable logo. If no logo is required, click No Logo. Use Smart Layout to allow the system to format the Report in an optimal layout.
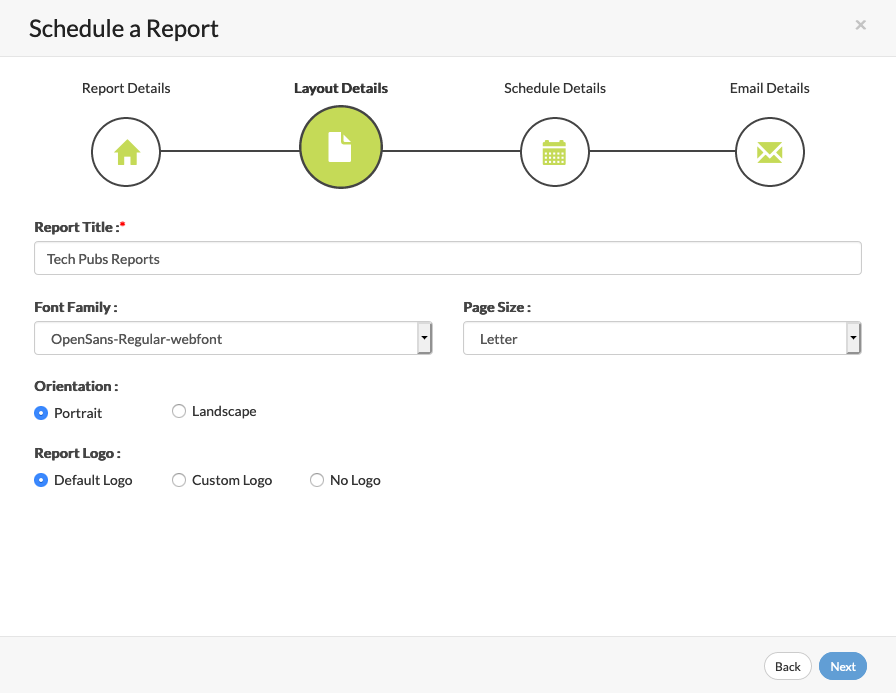
Alerts /Reports Schedule Reports Configuration Layout Details
Once the requisite information is added click Next to continue.
Schedule Details
Specify the settings for the Report schedule by choosing the Frequent Type, Time Window either Quick or Relative, Schedule Frequency Time in terms of sending the Report Every x hour within a 24-hour period, entering the applicable From period ranging from Last 15 Minutes to Previous Year and selecting a Start Time.
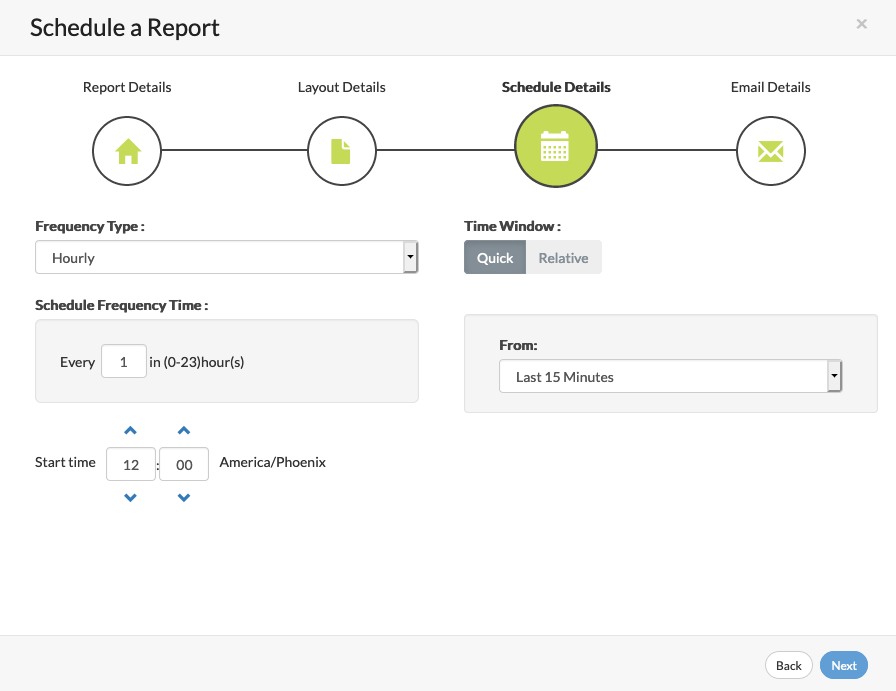
Alerts /Reports Schedule Reports Configuration Schedule Details
Once the applicable timing information is added click Next to continue.
Email Details
Specify the settings for the Report email details by choosing the Merge Parameter Name, Parameter Value, the Subject name for the Report. You customize a message to be included with the email. Enter the name or distribution list for the Report using Email To: and include any additional cc’s using Email CC:.
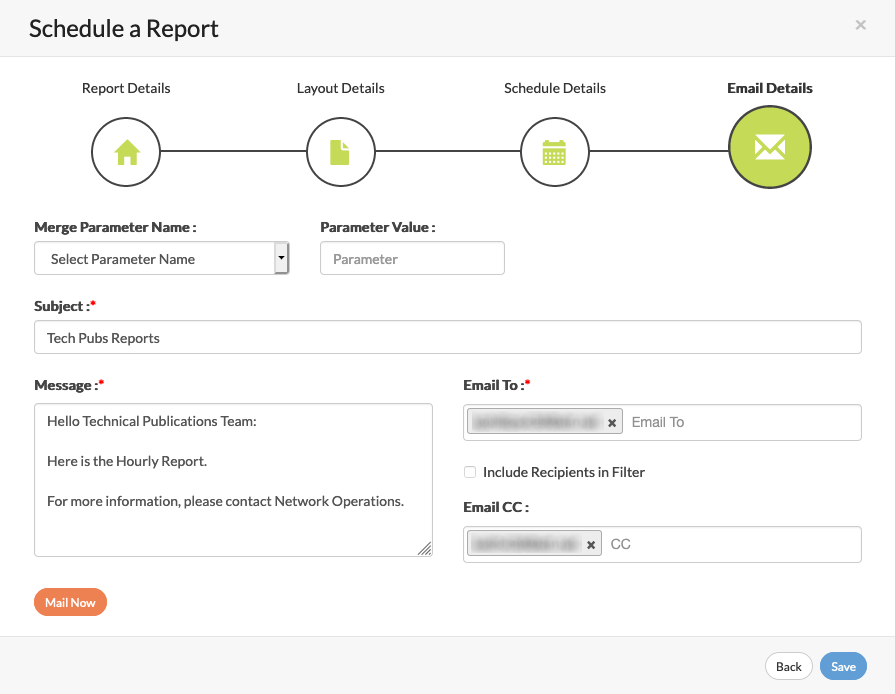
Alerts /Reports Schedule Reports Configuration Email Details
You send the Report immediately by clicking Mail Now.
Once the email information is added click Save to save the Report.
The Report is added to the Scheduled Reports dashboard with information pertaining to the Report.
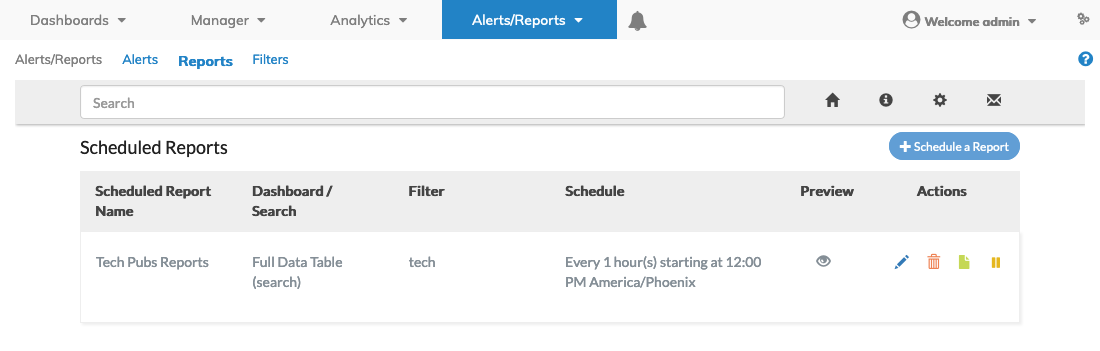
Alerts /Reports Schedule Reports Dashboard
![]()
Additional Reports are added to the dashboard by clicking +Schedule a Report.
Example PDF Report
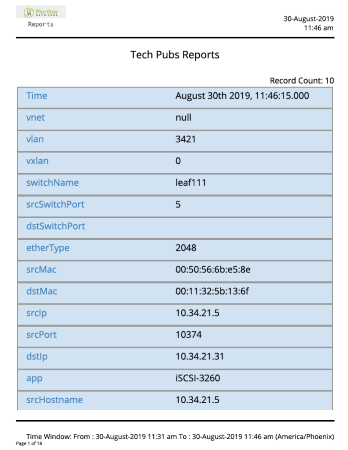
Alerts /Reports Schedule Report Example