
SNMP - Communities
Security/Monitoring SNMP Communities
Caution: SNMP - Communities is an Early Field Trial (EFT) feature. EFTs are intended for test environments and are not supported for use in production networks. You should consult your local partner or Pluribus Networks account team before using any EFT feature or to provide feedback.
There are features and functions used in UNUM Manager and UNUM Analytics that are common throughout the user interface (UI). Please refer to the Common Functions section for more information on the use of these functions and features.
SNMP Communities
Selecting Manager → Security/Monitoring → SNMP Communities displays the SNMP Communities dashboard with a list of any existing SNMP Communities settings.
Note: You must now enter the newly created SNMP Community string to your UNUM instance via Option 9 using the UNUM Virtual Machine Configuration. This step is required in order for UNUM to receive SNMP information from the switch.
Select the applicable Fabric from the left-hand navigation bar and the dashboard updates showing all SNMP Community entries from all switches within the Fabric.
Note: If no entries exist a "No Data Exists" message is displayed. You must first configure an entry on a switch. Prerequisite settings and configuration may be required.
The dashboard displays a list of existing SNMP Community entries by Fabric, Switch, Community String, and Community Type.
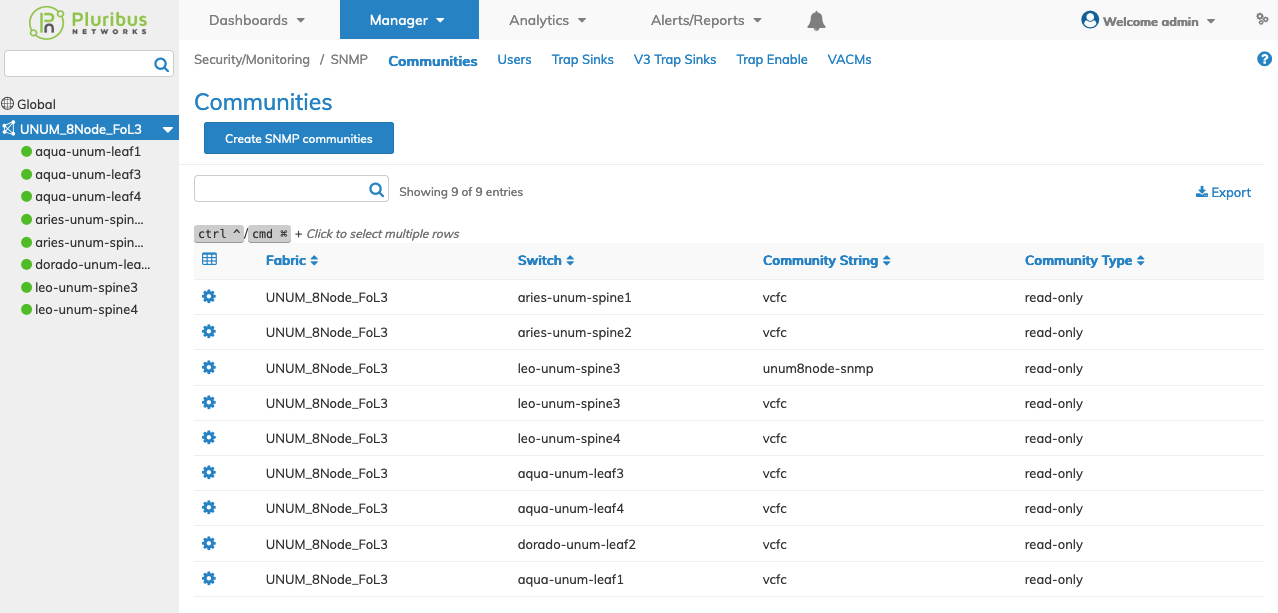
Manager Security/Monitoring SNMP Communities Fabric Dashboard
Select the applicable switch from the Fabric and the dashboard updates automatically with SNMP Communities settings.
The dashboard displays a list of existing SNMP Communities by entries by Community String, and Community Type.
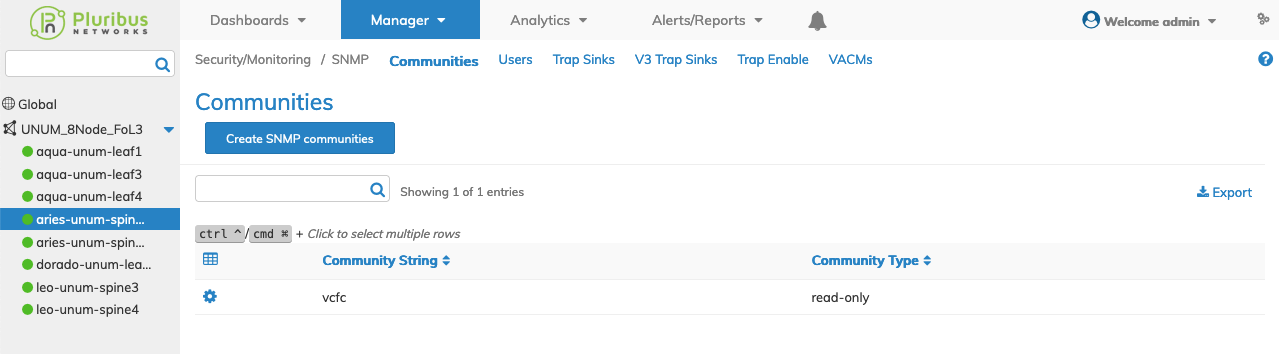
Manager Security/Monitoring SNMP Communities Switch Dashboard
Create SNMP Communities
To add a SNMP Community click Create SNMP Communities and enter the configuration parameters which include:
•Switch / FRG – Select All, a switch or a FRG (Fabric Resource Group) from the drop down list.
•Community String – Community name.
•Community Type – Community type (read-only, read-write)
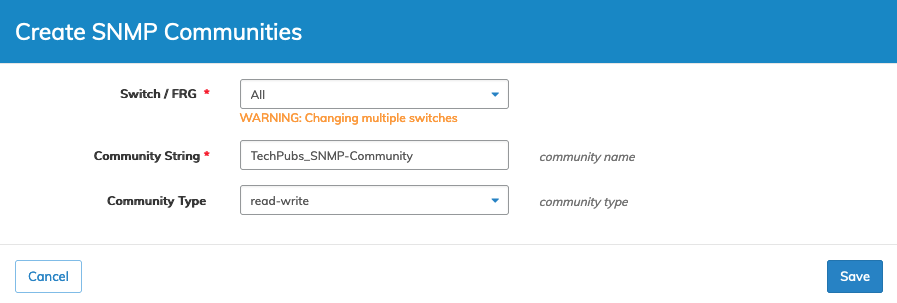
Manager Security/Monitoring Create SNMP Communities
Click Save to continue or Cancel to return to the previous screen without saving any changes.
The SNMP Community is added to the dashboard.
Note: You must now enter the newly created SNMP Community string to your UNUM instance via Option 9 using the UNUM Virtual Machine Configuration. This step is required in order for UNUM to receive SNMP information from the switch.
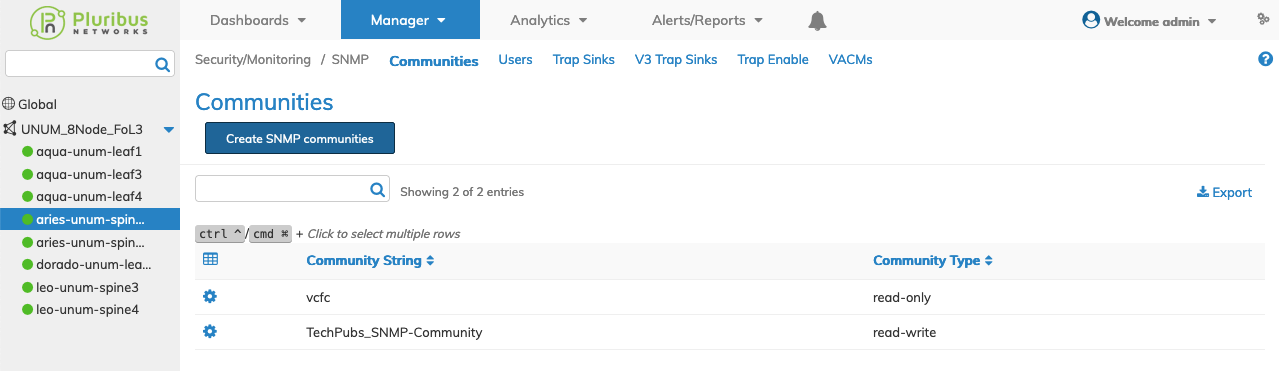
Manager Security/Monitoring SNMP Community Added to Dashboard
Modify SNMP Community
To modify a SNMP Community use Edit by selecting the Cog ![]() icon to make changes to the SNMP Community parameters which include:
icon to make changes to the SNMP Community parameters which include:
•Community Type – Community type (read-only, read-write).
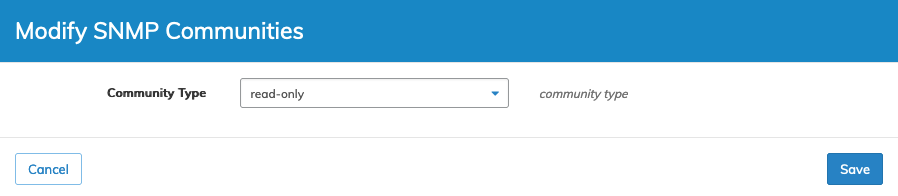
Manager Security/Monitoring SNMP Community Modify
Click Save to continue or Cancel to return to the previous screen without saving any changes.
Delete SNMP Community
To delete a SNMP Community use Delete by selecting the Cog ![]() icon. A confirmation message requires an acknowledgment to continue deletion.
icon. A confirmation message requires an acknowledgment to continue deletion.
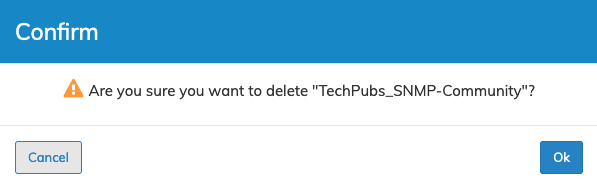
Manager Security/Monitoring SNMP Communities Delete Confirmation
Click OK to continue or Cancel to return to the previous screen without making any changes.