SFLOW - sFlow Ports
Security/Monitoring sFlow Ports
There are features and functions used in Arista NetVisor UNUM and Insight Analytics that are common throughout the user interface (UI). Please refer to the Common Functions section for more information on the use of these functions and features.
sFlow Ports
Note: As of July 2021, sFlow is no longer supported.
Selecting Manager → Security/Monitoring → sFlow Ports displays the sFlow Collector dashboard.
When dashboard initially loads you are presented with the following if no sFlow Ports exist:

Manager Security/Monitoring sFlow Ports Dashboard
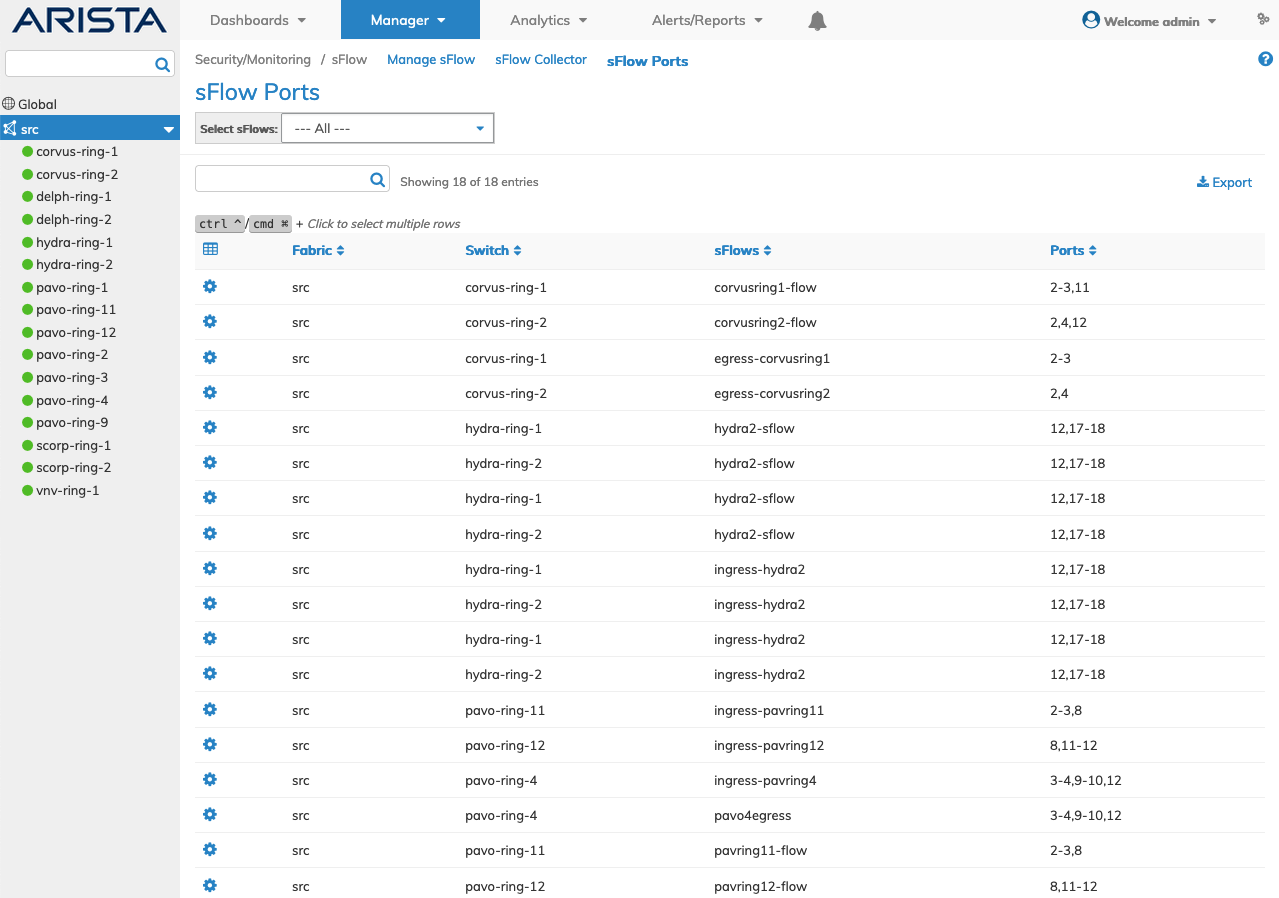
Select the applicable Fabric and the dashboard updates with SFlow Ports entries by sFlows. Additional parameter include: Fabric, Switch, sFlows, and Ports.

Manager Security/Monitoring sFlow Ports Fabric Dashboard
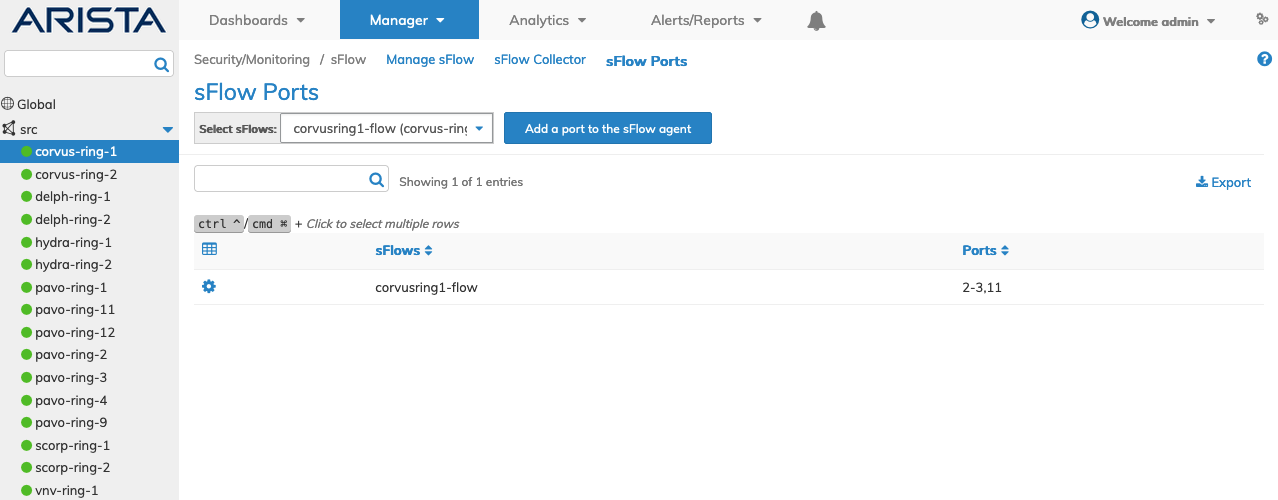
Select the applicable switch from the Fabric and the dashboard updates automatically with sFlow Ports.
The dashboard displays a list of existing sFlows and sFlow Ports on the switch.

Manager Security/Monitoring sFlow Ports
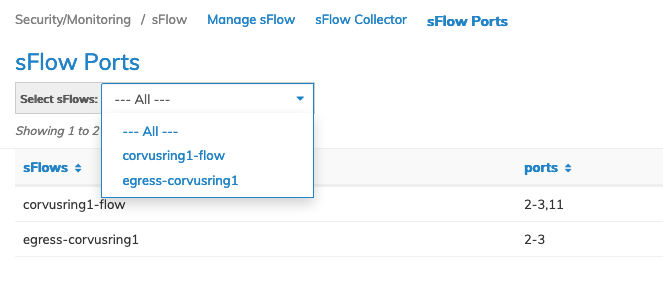
In the event multiple sFlow Agents exist in NetVisor UNUM you select the applicable sFlow Agent from the drop-down list.
The dashboard is automatically updated with sFlow Ports assigned to that agent.

Manager Security/Monitoring sFlow Ports Select Agent
Create sFlow Port
To create a sFlow Port to an sFlow Agent click Add a port to the sFlow agent. Enter the required parameters which include:
•Switch / FRG – Select a switch or a FRG (Fabric Resource Group) from the drop down list.
•sFlows – Auto-populated from Select sFlows.
•Ports - Ports. Use the interactive port selector to select the applicable ports for the sFlow agent.

Manager Security/Monitoring sFlow Ports Add Ports
Click Save to continue or Cancel to return to the previous screen without saving any changes.
Remove sFlow Port
To delete a sFlow Port from a sFlow Agent use, Remove Ports from (selected sFlow Agent) by selecting the Cog ![]() icon.
icon.

Manager Security/Monitoring sFlow Ports Remove Ports
Use the interactive port selector to deselect (remove) the applicable ports for the sFlow agent.
Click the applicable ports and click Apply to continue or Cancel to return to the previous screen without applying any changes.
Click Submit to remove the ports.
